If you've read the MetaGenius AI review, compared the pricing plans, or looked at the feature walkthrough — you're past the research phase. Time to install.
This is the simplest guide on the blog. Three steps, under 60 seconds, zero code. If you've ever installed any Shopify app, you already know 90% of this process. The remaining 10% is MetaGenius-specific: choosing your first tone preset and running your first generation.
Before You Start
You need exactly one thing: a Shopify store with at least one product. That's it. MetaGenius AI works on every Shopify plan — Basic, Shopify, Advanced, and Plus. No theme modifications needed. No DNS changes. No external accounts to create.
The app is listed on the official Shopify App Store, so billing goes through your existing Shopify account. You'll never enter a credit card on a third-party site.
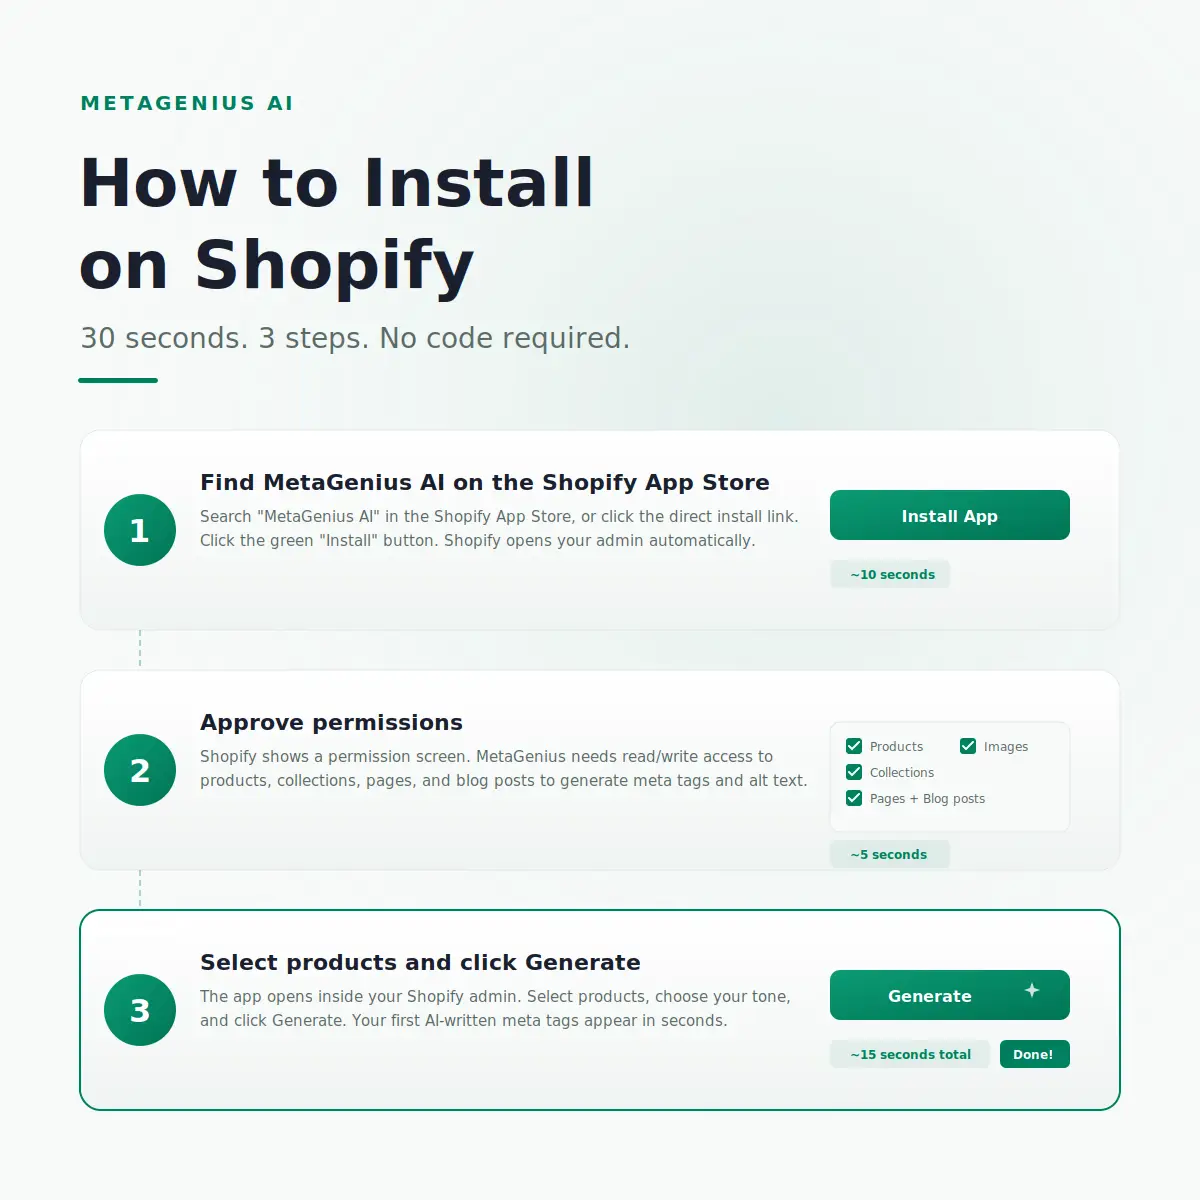
Step 1: Find and Install MetaGenius AI
Two ways to get there:
Option A (fastest): Click this direct link → MetaGenius AI on the Shopify App Store. You'll land on the listing page. Click the green "Install" button.
Option B: Go to your Shopify admin → Apps → Search the Shopify App Store → Type "MetaGenius AI" → Click the listing → Click "Install."
Shopify redirects you to your admin and shows the app installation screen. This takes about 10 seconds.
Step 2: Approve Permissions
Shopify displays a permission screen listing what MetaGenius AI needs access to. Here's what it requests and why:
- Products (read/write): To read your product titles, descriptions, and variant data — and to write the generated meta tags back to each product's SEO fields.
- Product images (read/write): To read your product images for alt text generation — and to write the alt text back to each image.
- Collections (read/write): Same as products, but for collection pages.
- Pages and blog posts (read/write): To generate meta tags for your static pages and blog content.
These are standard permissions for any Shopify SEO app. MetaGenius AI is GDPR compliant and doesn't store your product data on external servers beyond what's needed for generation. Click "Install app" to approve.
Total time: about 5 seconds of reading, one click.
Step 3: Generate Your First Meta Tags
The app opens inside your Shopify admin. You'll see your product catalog listed. Here's what to do:
- Select a product (or select all — up to your available credits).
- Choose a tone preset from the 9 options (Professional, Luxury, Playful, etc.) or leave it on the default.
- Click "Generate."
The AI generates a meta title and meta description for each selected product. You'll see the output inline, with a live Google SERP preview showing exactly how it'll look in search results. Edit anything you want. When you're satisfied, click "Save" to push the meta tags to your Shopify store.
Your first AI-generated meta tags are now live. Total time from clicking "Install" to seeing results: under 60 seconds.
Ready? The install takes 30 seconds.
Click Install, approve permissions, generate. Your first 10 meta tags are free — no credit card, no commitment, no code.
Install MetaGenius AI Free →What to Do After Installing
You've installed and generated your first batch. Here's the recommended next-steps workflow:
1. Run a bulk generation across your catalog
If you're on the Free plan, you have 10 credits — use them on your 10 highest-traffic products to test output quality. If you've started the 7-day Pro trial, select all products and generate in bulk. A 500-product store finishes in about 15 minutes of background processing. For the full bulk editing walkthrough, see our guide.
2. Review your top 20 pages
Sort your products by traffic (use Google Analytics or Shopify's analytics). Open the top 20 in MetaGenius AI and review the generated descriptions. Edit any that need brand-specific tweaks. The long tail can run on AI defaults — but your money pages deserve a human pass.
3. Generate alt text (Pro only)
Switch to the Image Alt Text tab and run bulk generation for your product images. This covers both Google Image Search visibility and WCAG 2.2 accessibility compliance. See the alt text generator guide for the full workflow.
4. Enable auto-sync (Pro only)
Turn on webhook auto-generation so every new product you create gets meta tags and alt text automatically. This prevents the "I did SEO once and then forgot about it for 6 months" problem that hits most Shopify stores.
5. Choose your plan
After testing the output, pick the plan that fits your catalog size. See our pricing guide for the honest breakdown — including the math on when Free, Starter, or Pro makes sense for your revenue tier.
Troubleshooting Common Install Issues
"Install" button is greyed out
You may not have admin or app-management permissions on your Shopify account. Only the store owner or a staff member with "Apps" permission can install apps. Ask your store owner to install, or have them grant you the permission.
App doesn't appear in the admin after install
Clear your browser cache and reload the Shopify admin. If the app still doesn't appear, go to Apps in the left sidebar — MetaGenius AI should be listed there. Click it to open. If it's not listed, the install may not have completed — try reinstalling from the App Store.
Products aren't showing in the app
If your product catalog is large (1,000+), the initial sync can take 1–2 minutes. Wait and refresh. If products still don't appear, check that the app has the correct permissions (Settings → Apps and sales channels → MetaGenius AI → check permissions).
For any issue not covered here, reach out to MetaGenius AI support directly through the app — there's a support link in the bottom-left of the embedded interface. If your store has a different SEO issue, like pages not showing on Google at all, start with that troubleshooting guide first.
Frequently Asked Questions
30 seconds. 3 clicks. Your first AI meta tags — free.
Click Install. Approve permissions. Click Generate. That's it. Your first 10 AI-written meta descriptions appear in seconds. No credit card. No code. No commitment.
Install MetaGenius AI Free on Shopify →